How to run N8n locally on Windows using Docker and Nginx.
Save money by running a local version of a no-code tool N8n. Here is the process that i used to get it up and running on my machine. hopefully this will help someone else out
PROGRAMS
b
3/26/20254 min read
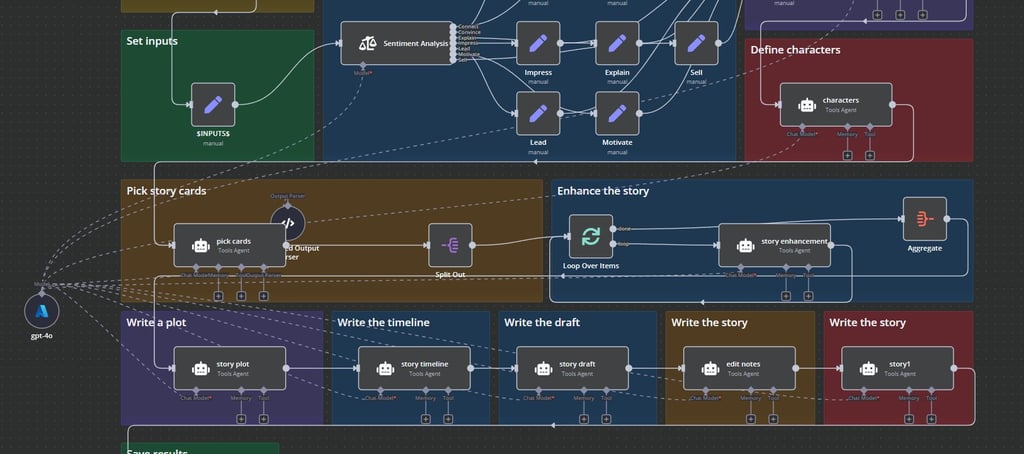
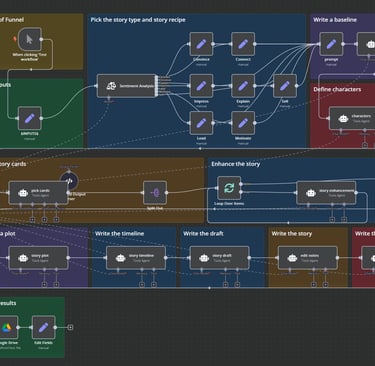
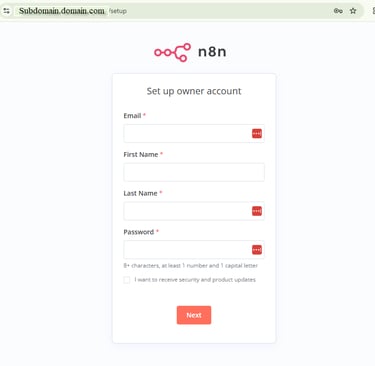
Setting up your local no-code n8n instance
This is my process; it took me a day a half because of issues. I won’t go into all the ways this doesn’t work, but I will go into the one specific way that it did work after dealing with lots of errors. N8n is easy to install locally if you’re not going to be using webhooks.
If you don’t know what a webhook is, then maybe you shouldn’t be using the tool yet anyway. Just think of it like an API that works on a schedule rather than you having to click go each time you want to use it.
Installation Setup Order
Get your local ip address and setup port forwarding in your router.
Have incoming ports 80 and 443 forwarded to your computer. The option to do this will change depending on your router setup. For me I use ATT and will show you my steps. This will allow you to use N8n locally with webhooks that require secure ssl connections
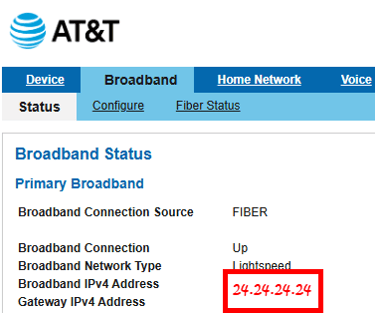
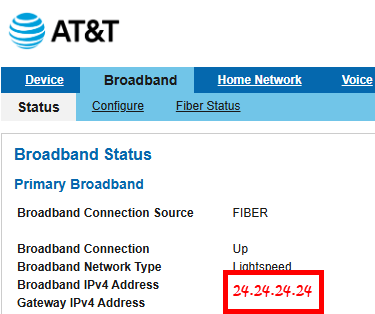
Here is where you find your external ip address
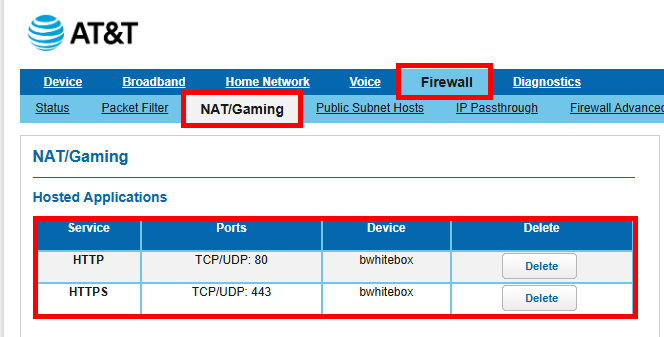
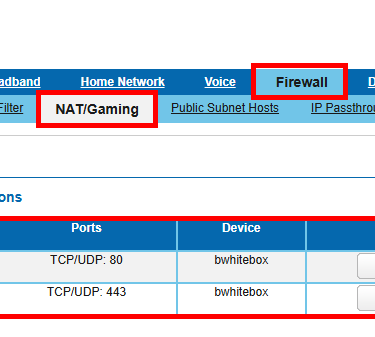
On the Att Router you will go to the firewall settings
then into NAT/Gaming
and add http and https pointing to your local computername
Setup a domain or a subdomain to point to your localhost.
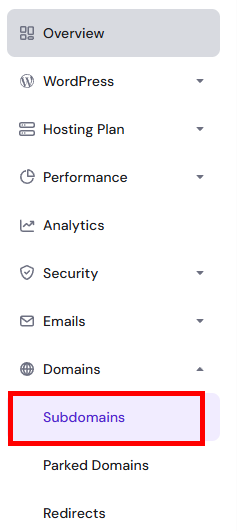
I use Hostinger for my webhosting and domain purchases.
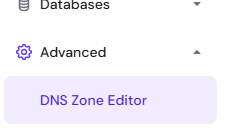
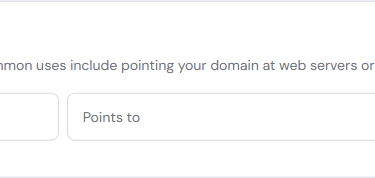
I went to create a subdomain for one of my existing domain. then went into the DNS Zone Editor to forward the subdomain to my local ipaddress with an A record. This is so i can type in mysubdomain.domain.com in the browser to open N8n and also so i can setup webhooks that require a domain address.


Type=A
Name =subdomain name
Points to = Your home ipaddress (24.24.24.24 from above)
Type=AAAA
same but for ipv6 address
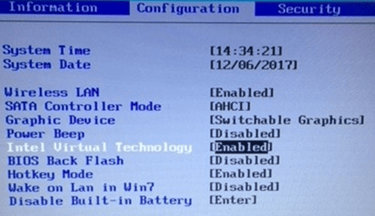
Enable Hardware virtualization in your bios.
Make sure your bios has hardware Virtualization, and it is enabled. This is a requirement to use docker. Each bios is different, and you will need to look up your own bios to find the process to enable it. Docker is a tool that basically just runs a linux server within your windows instance. you will need to enable virtualization because this linux instance is virtual.
Install Docker Desktop (click here)
I have space limitations, so i installed it to a different drive letter using the commandline.
Docker_Desktop_Installer.exe install --installation-dir=D:\DockerInstall
Create a Yaml file to load settings
Create a folder to store some local files.
I used this location D:\Files\sourcecode\n8nv1 you can use any folder you would like.
I create a file called docker-compose.yml and entered this as the contents. This allows you to translate the local address on your machine to an address within the Linux instance for N8n.
Run this command from a cmd prompt
Set WEBHOOK_URL= subdomain.domain.com
Where subdomain.domain.com is your actual domain information that you setup above. This will tell n8n to use that domain information instead of using local host in regards to webhooks.
Now run from within the folder you created above to finish setting up the docker connections and images.
docker compose up -d
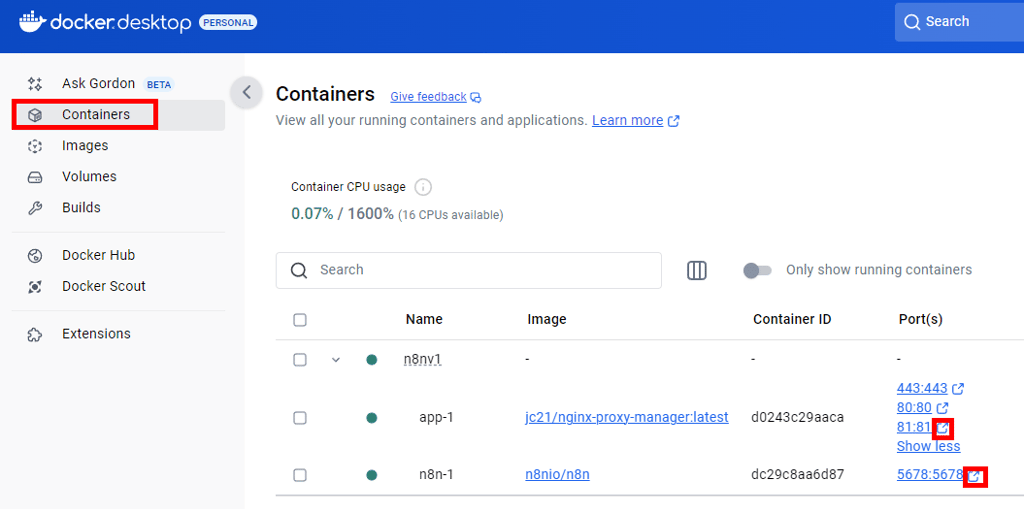
Open docker desktop if it isn’t already open and go to containers
You should be able to click on these links (see highlighted in red boxesin the bottom right corner) to open nginx and n8n
The default login for Nginx is:
Email: admin@example.com
Password: changeme
Login and change it to your email address and password
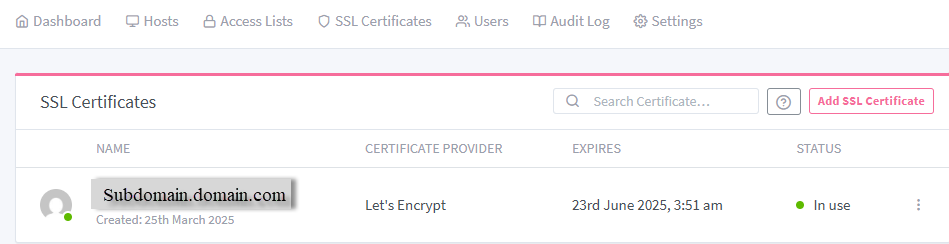
First lets setup an ssl certificate that points to the subdomain.domain.com
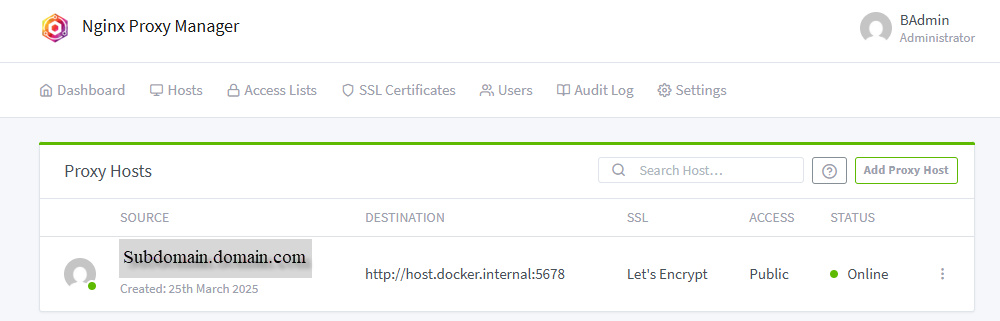
Then goto hosts->proxy hosts and setup the forwarder from your
Domain = subdomain.domain.com
Scheme = HTTP
forward Hostname = http://host.docker.internal
Port = 5678
enable: websocket support, block common exploits
add the SSL you create above
enable:force ssl,http/2 support, hsts enabled
I added a custom configuration in the advanced tab
proxy_connect_timeout 600;
proxy_send_timeout 600;
proxy_read_timeout 600;
send_timeout 600;
If everything is setup correctly, then you can now goto subdomain.domain.com and get to your N8N instance and do the stuff you need to do.
It’s simple enough as long as you know where to click and what to type. 😊


As a bonus you can automate the DNS configuration is you don't have a static ip address. This will identify your ipv6 address and automatically update the dns settings for your domain or subdomain
My domains are controlled by hostinger.
change these 3 variables if you use hostinger as well.
$bearerToken = "SS9pkEsOlk4F12345YourBearerToken12345decf1"
$domain = "websitename.com"
$subdomain = "N8n"
then setup a daily scheduled task